Overview
The Sanity integration lets you automatically generate and publish SEO-optimized content directly to your Sanity project. Set up a content schedule, connect your Sanity dataset, and new articles will be created as documents in your Content Lake, ready to review and publish from Sanity Studio. Content is converted from markdown to Portable Text so it renders correctly in rich-text fields.Step 1: Create a Sanity API Token
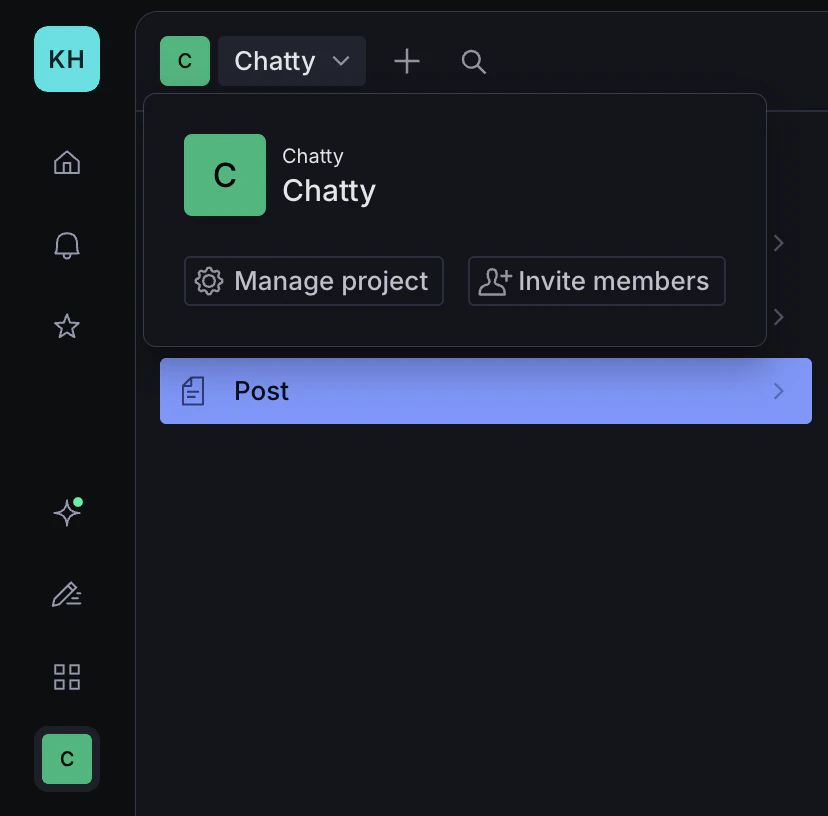
- Open Sanity Studio and click your project name in the top-left corner. A dropdown will appear, click Manage project.
- In the management portal, click the API tab in the top navigation.
- Select Tokens from the left sidebar, then click Add API token.
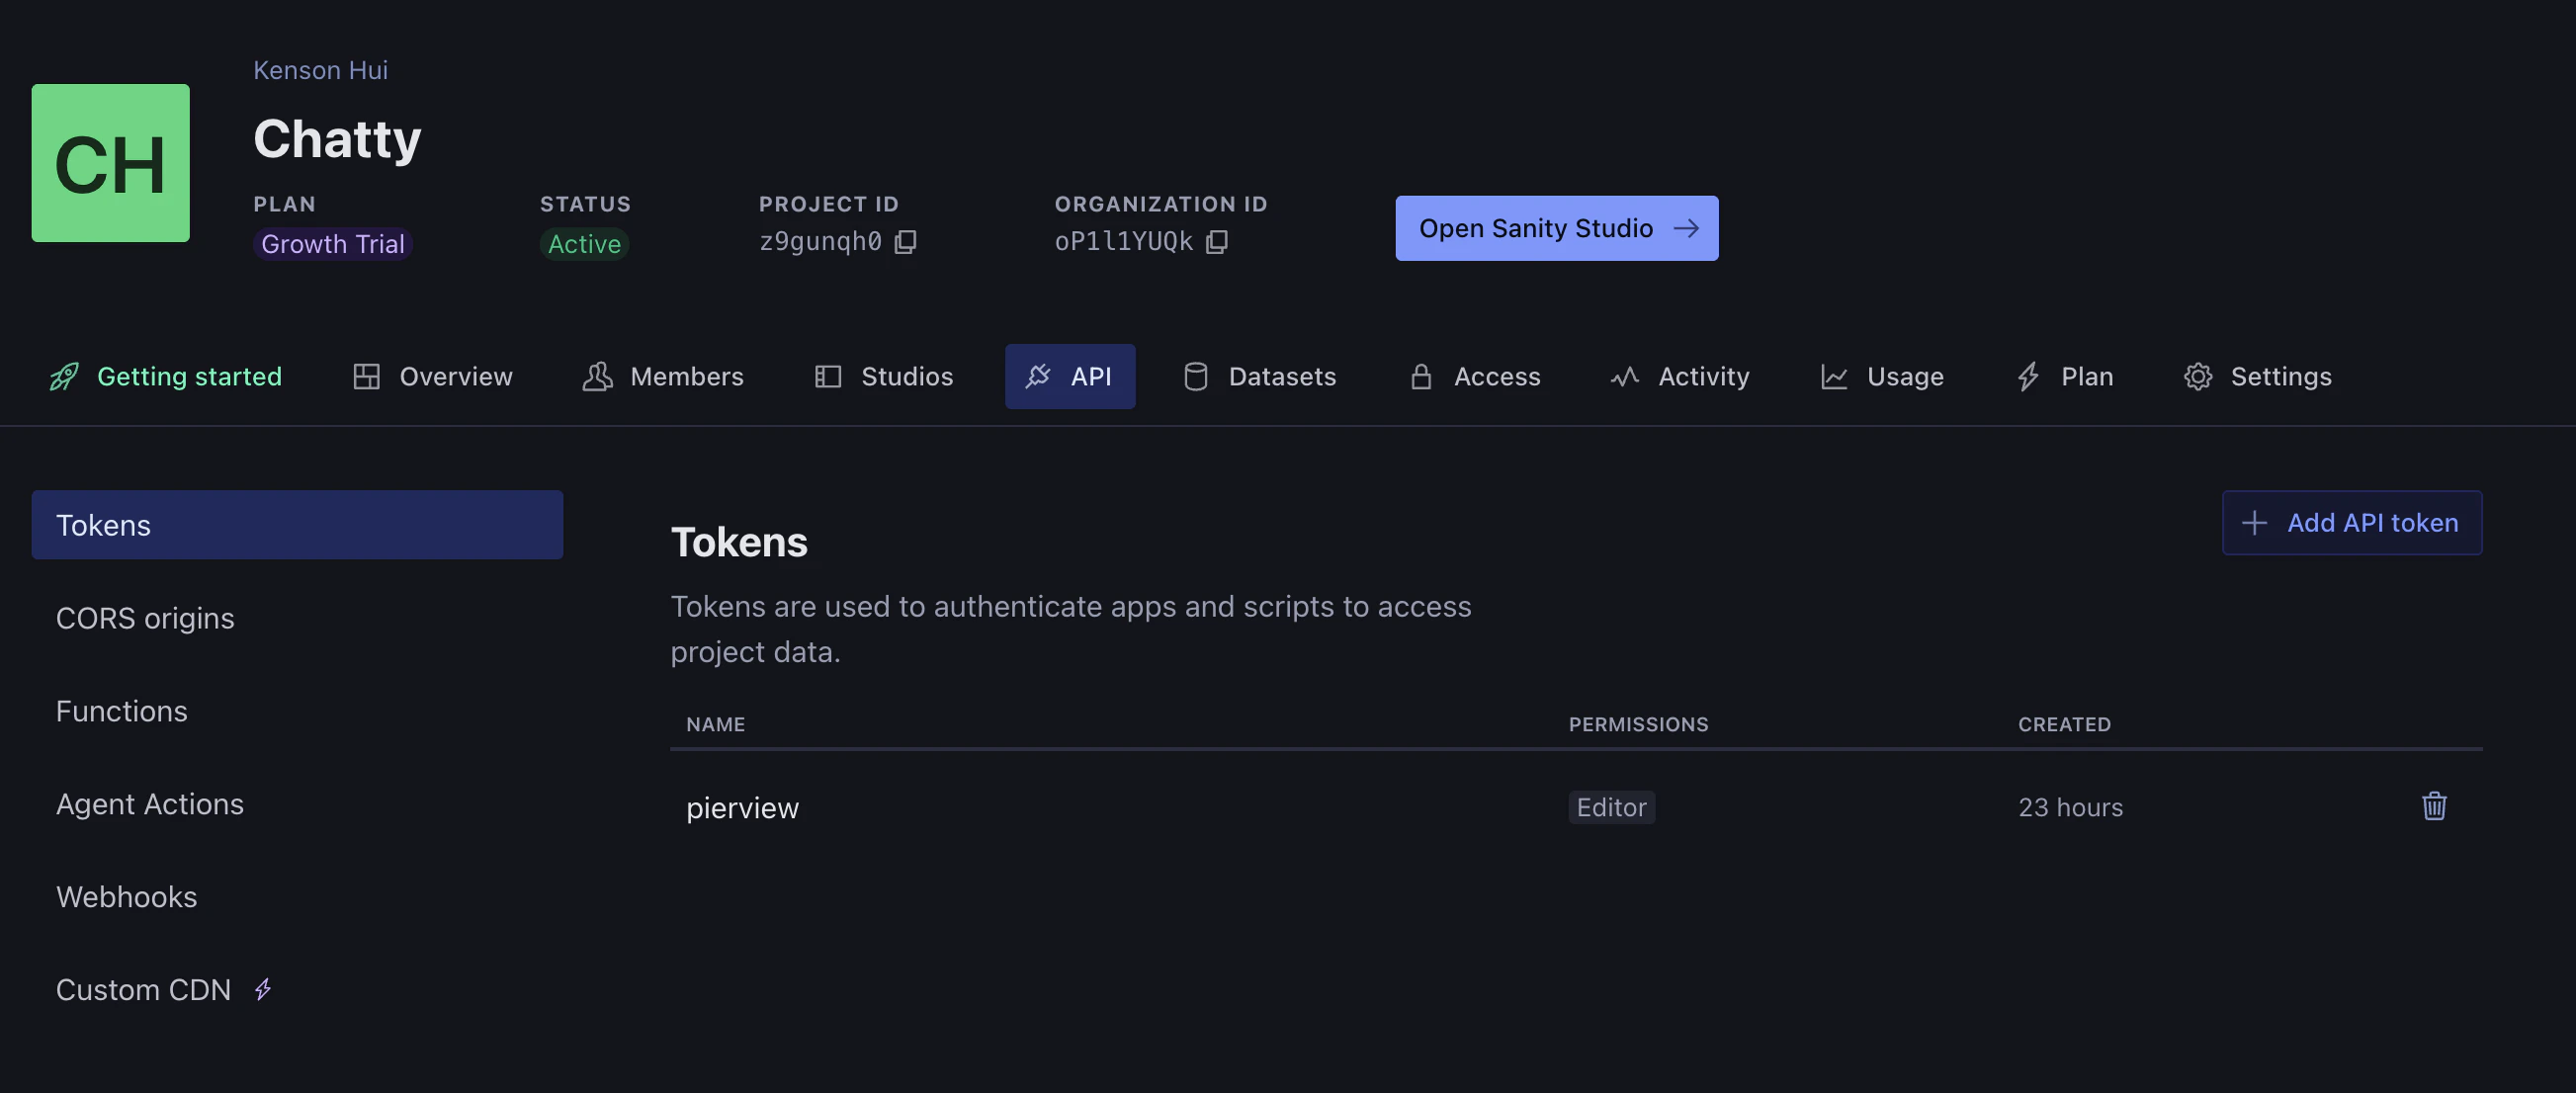
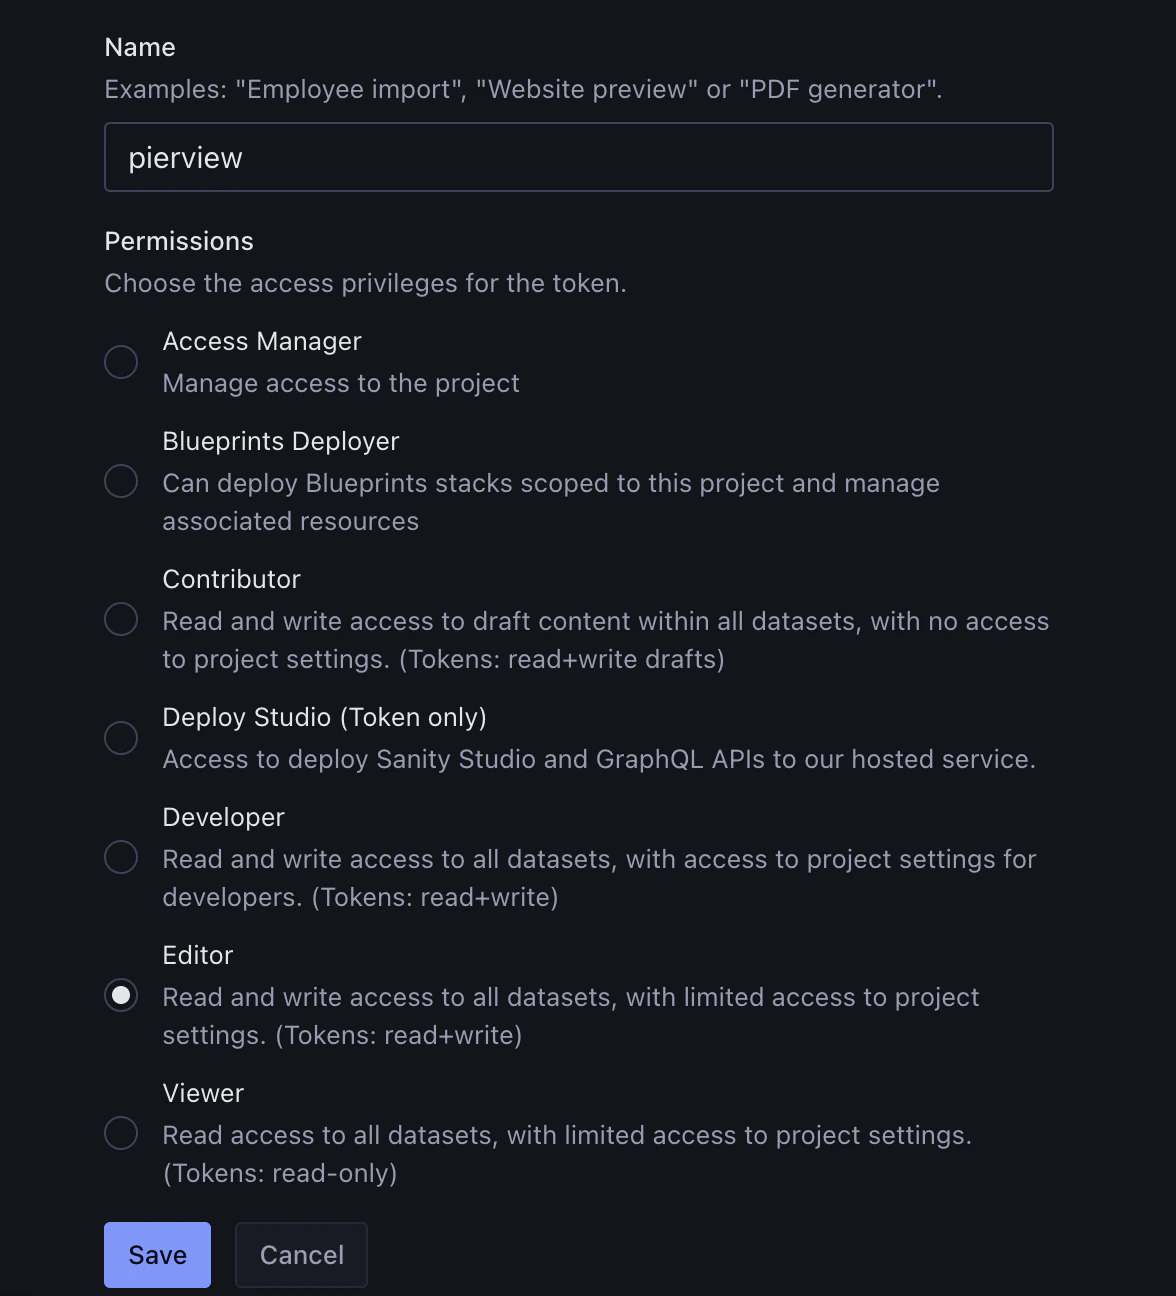
- Give the token a name (e.g.
Pierview), select Editor under Permissions, then click Save.
- Copy the token, you’ll paste it into Pierview shortly.
-
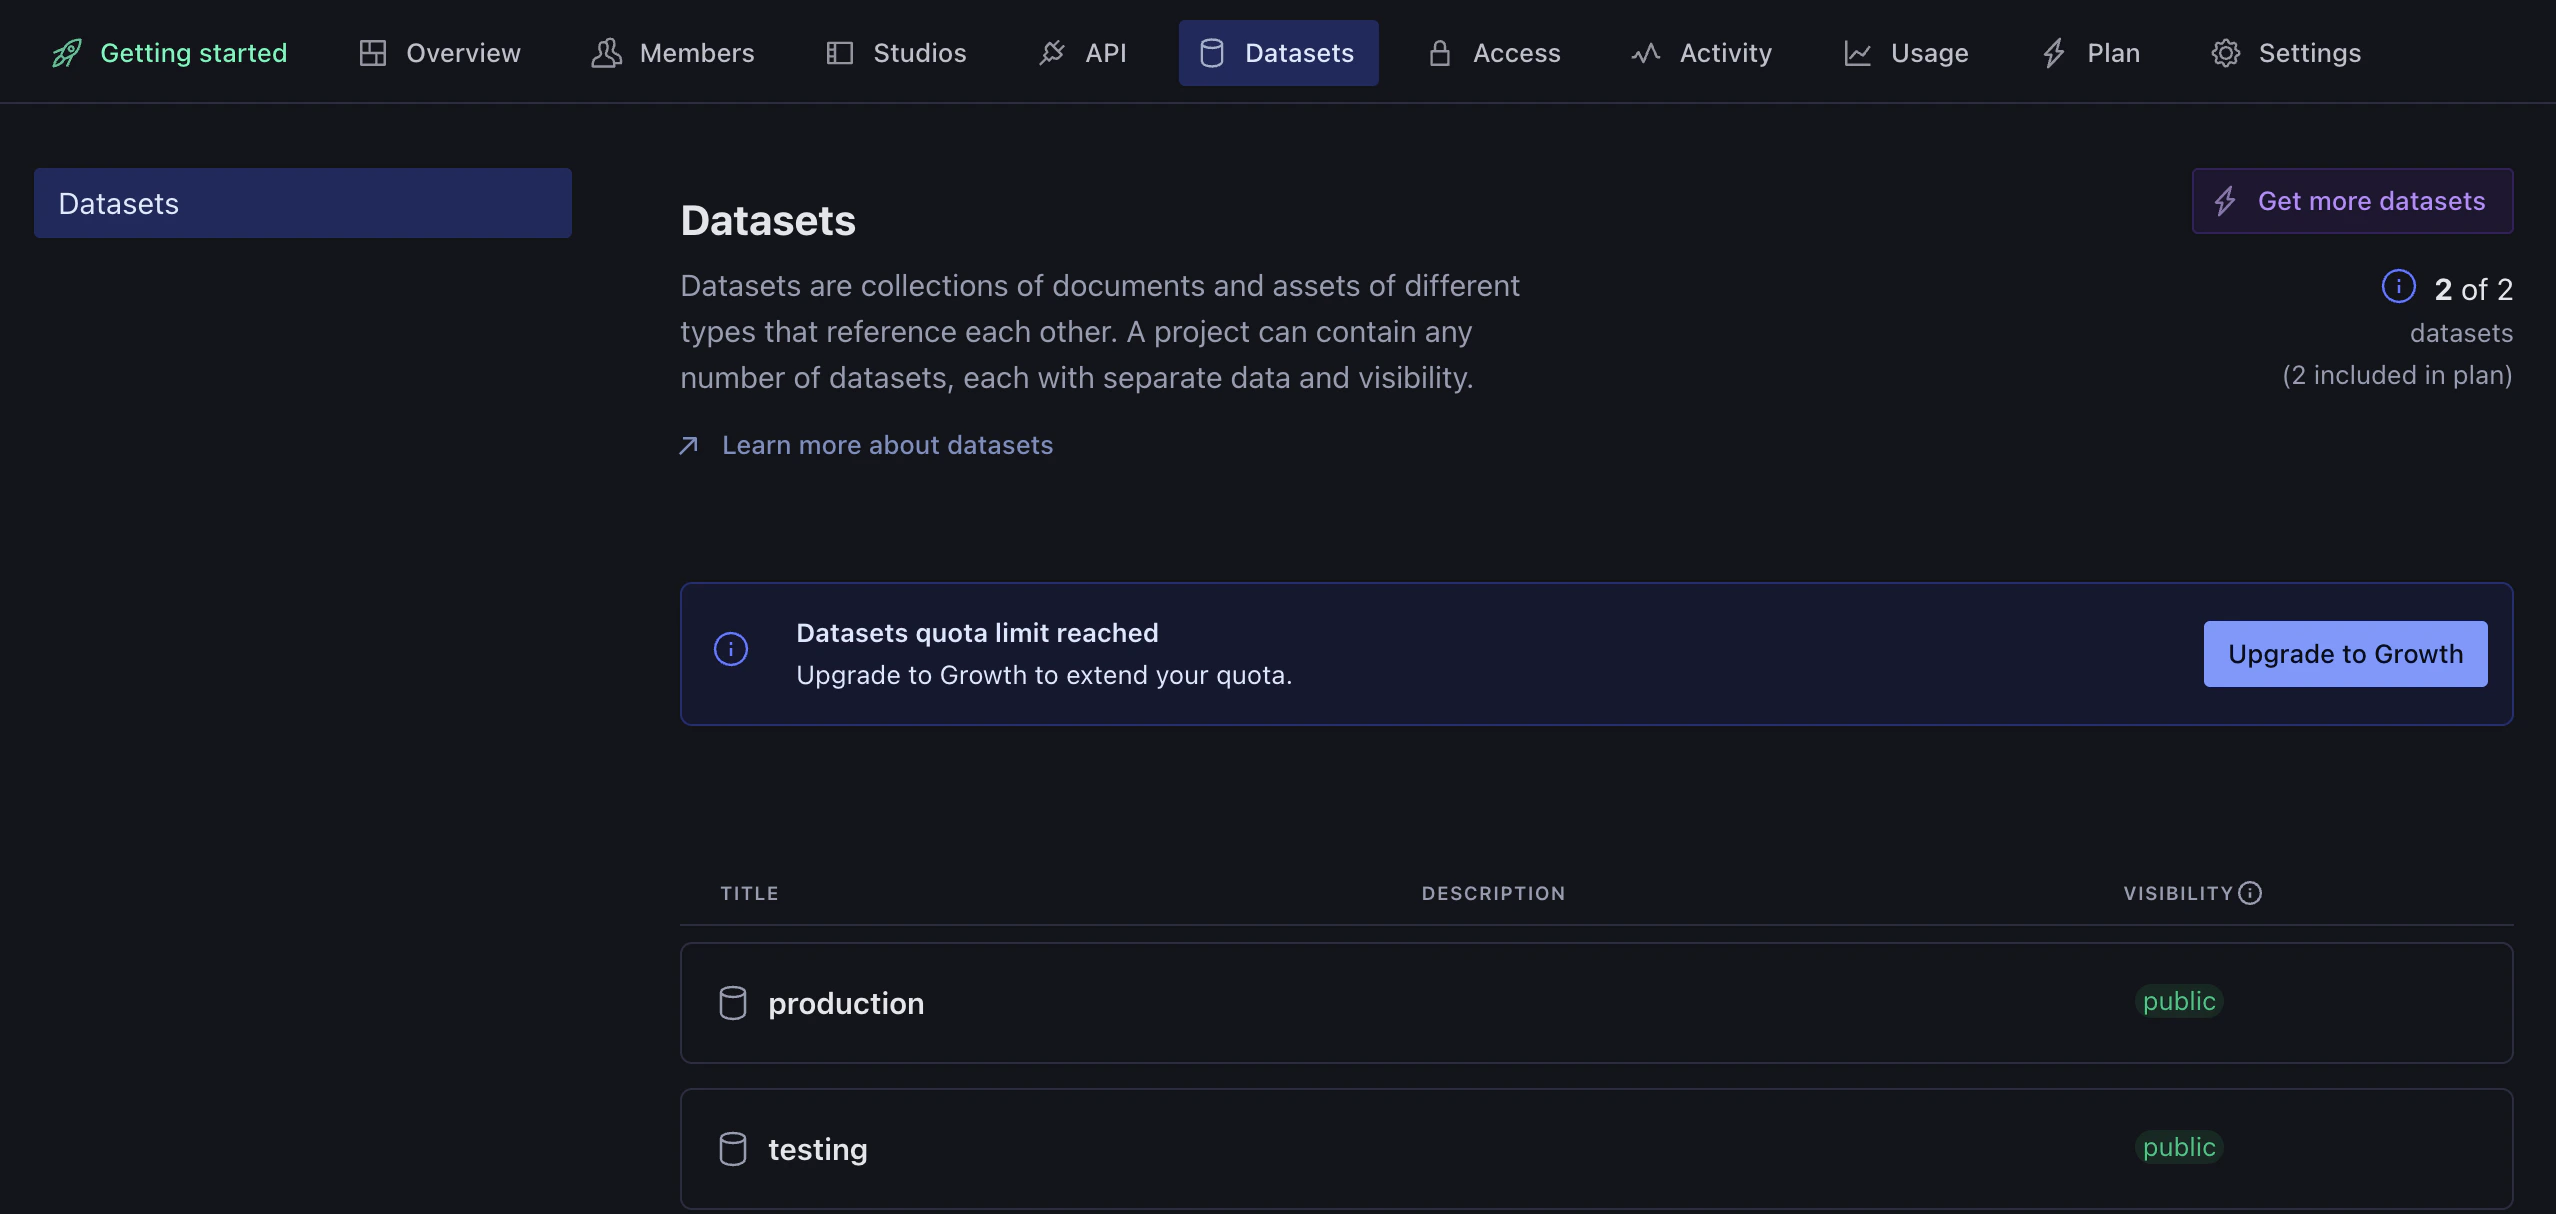
While you’re here, click the Datasets tab to confirm which dataset you want to publish content to. The dataset name (e.g.
production) is what you’ll enter in Pierview.
- Note your Project ID (shown at the top of the management page at sanity.io/manage), you’ll need it in the next step.
Step 2: Connect Pierview to Sanity
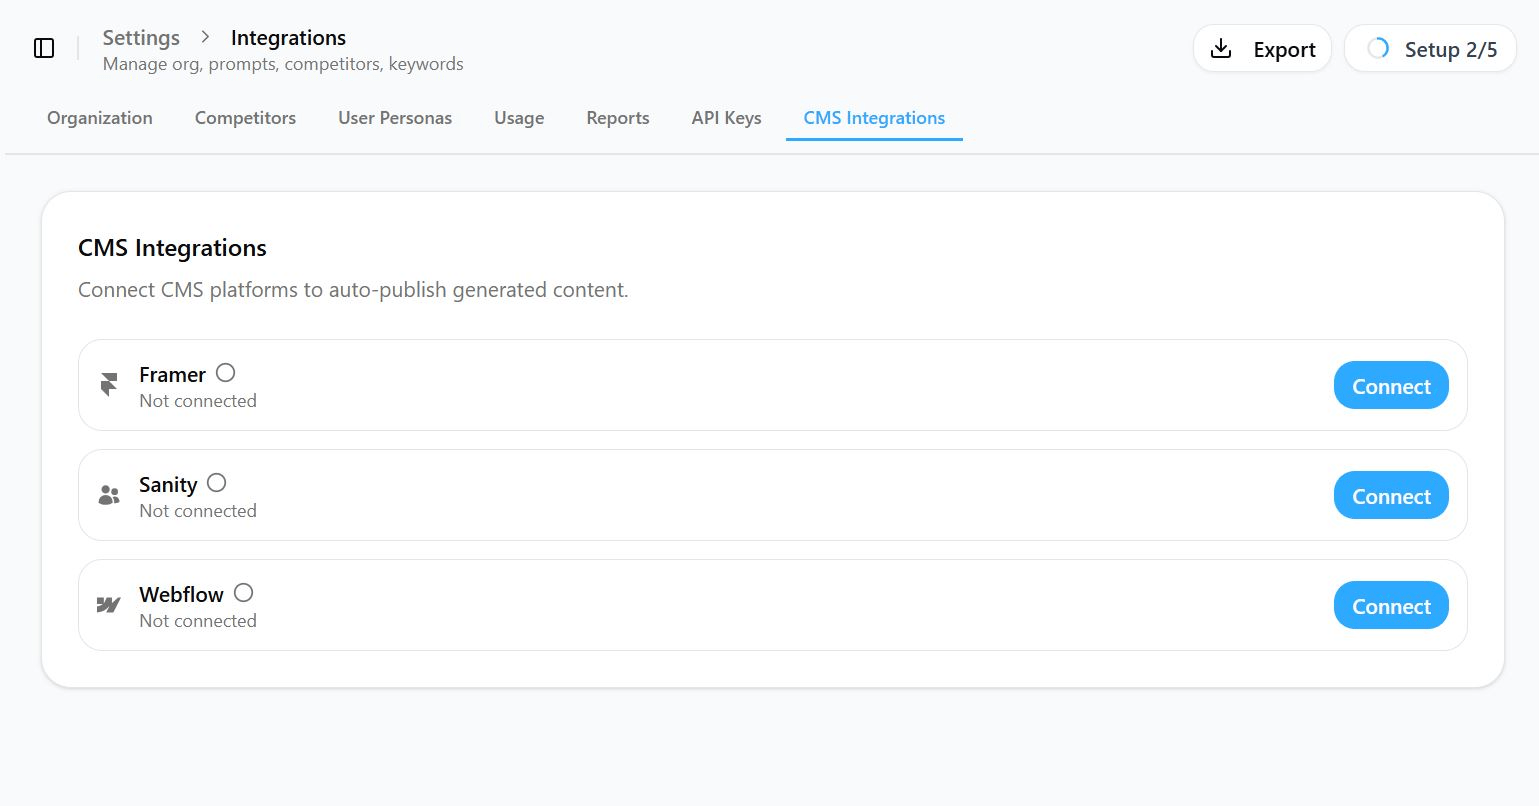
The setup is a 3-step wizard: credentials → document type → field mapping. Credentials- In Pierview, go to Settings → Integrations → CMS Integrations and click Connect next to Sanity.
-
Enter your Project ID, Dataset (default:
production), and paste in your API Token. - Click Next, Pierview will verify the credentials and fetch your document types.
-
Choose the document type that content should be published as (e.g.
post,article,blogPost). The dropdown is populated from your actual Sanity schema. - Click Next.
-
Map the four fields to the corresponding field names in your chosen document type:
- Click Save to finish.
You’re Connected!
Any content scheduled for generation will automatically be created in your Sanity Content Lake as a draft, where you can review it in Sanity Studio and publish it when ready. You can also publish content on demand, go to any generated article and click Publish in the top-right sidebar to send it to Sanity immediately.Content is published as a draft by default. You’ll need to publish it from Sanity Studio to make it live.
Troubleshooting
Articles not appearing in Sanity Studio
Articles not appearing in Sanity Studio
- Verify your Project ID and Dataset are correct
- Check that your API token is still valid and hasn’t been revoked in sanity.io/manage
- Make sure the integration is enabled (toggle is on in Pierview)
- Check that the document type you selected exists in your Sanity schema
Permission denied / 403 error
Permission denied / 403 error
Your API token may not have write access. Go to sanity.io/manage → API → Tokens and create a new token with Editor permission, then update it in Pierview settings.
Content body is empty or missing formatting
Content body is empty or missing formatting
Make sure the Content field in your Sanity schema is a Portable Text (array) field, not a plain string. Pierview converts markdown to Portable Text blocks, plain string fields will not display the formatted content correctly.
Document type not showing in the dropdown
Document type not showing in the dropdown
The dropdown is populated from your Sanity project using a GROQ query. If your document type is missing, make sure at least one document of that type exists in the dataset, or that the type is defined and your API token has read access to the dataset.
Slug field not being set
Slug field not being set
Slug in Sanity is typically an object with a
current field (e.g. { _type: "slug", current: "my-article" }). Pierview handles this automatically, just make sure the field name in your mapping matches the field name in your schema exactly.