Overview
The WordPress integration lets you publish SEO-optimized content directly to your WordPress site, as a draft or live, straight from Pierview. Connect once, then export any generated article with a single click, or let scheduled content publish automatically. Articles are sent as native WordPress blocks, so they appear as normal, fully editable posts in your editor. Tables, headings, lists and formatting all match your theme automatically, with no extra setup.This integration works with self-hosted WordPress (a WordPress.org site running on your own host, e.g. Hostinger, Bluehost, SiteGround, Kinsta, WP Engine) and with WordPress.com sites. Both authenticate using an Application Password. If you’re on WordPress.com, use the username tied to your WordPress.com account (see Step 2).
Step 1: Create an Application Password
Pierview connects using a WordPress Application Password, a secure, revocable token that’s separate from your normal login password.- Log into your WordPress admin (
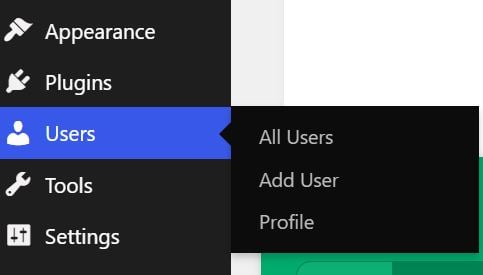
/wp-admin) as an Administrator, Editor, or Author (publishing live requires at least Author). - Go to Users in the left sidebar and click Profile.
- Scroll down to the Application Passwords section.
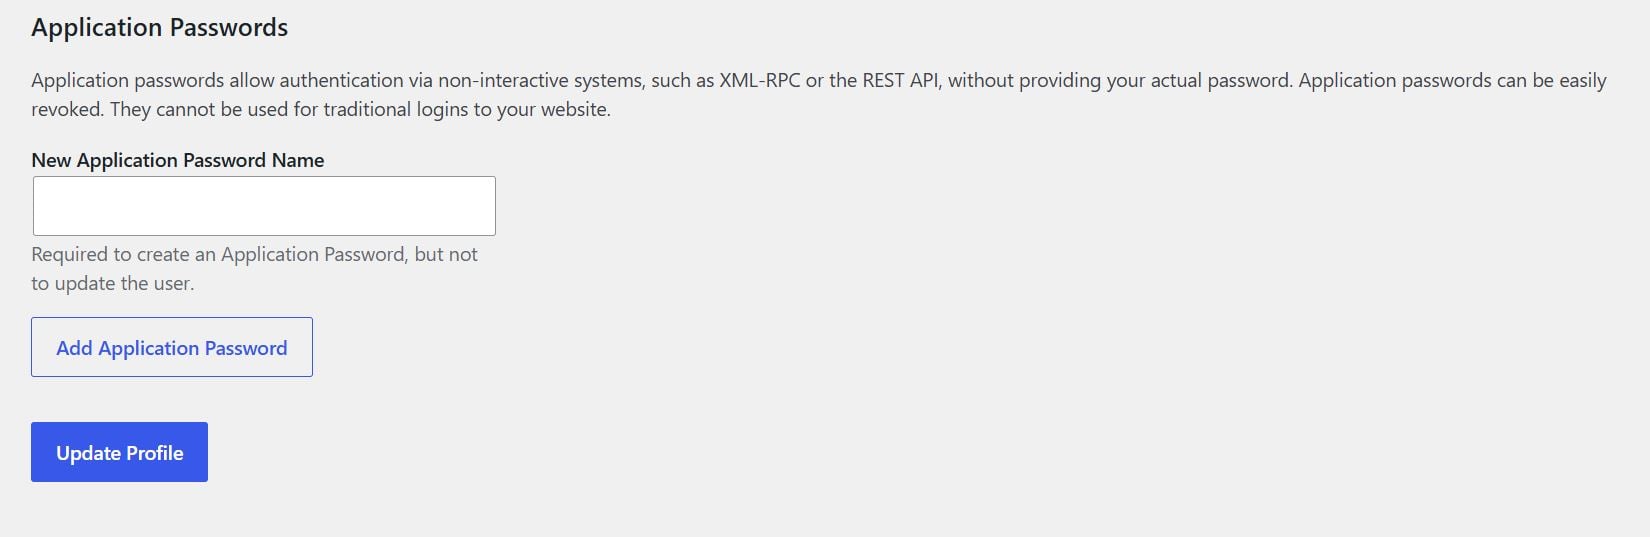
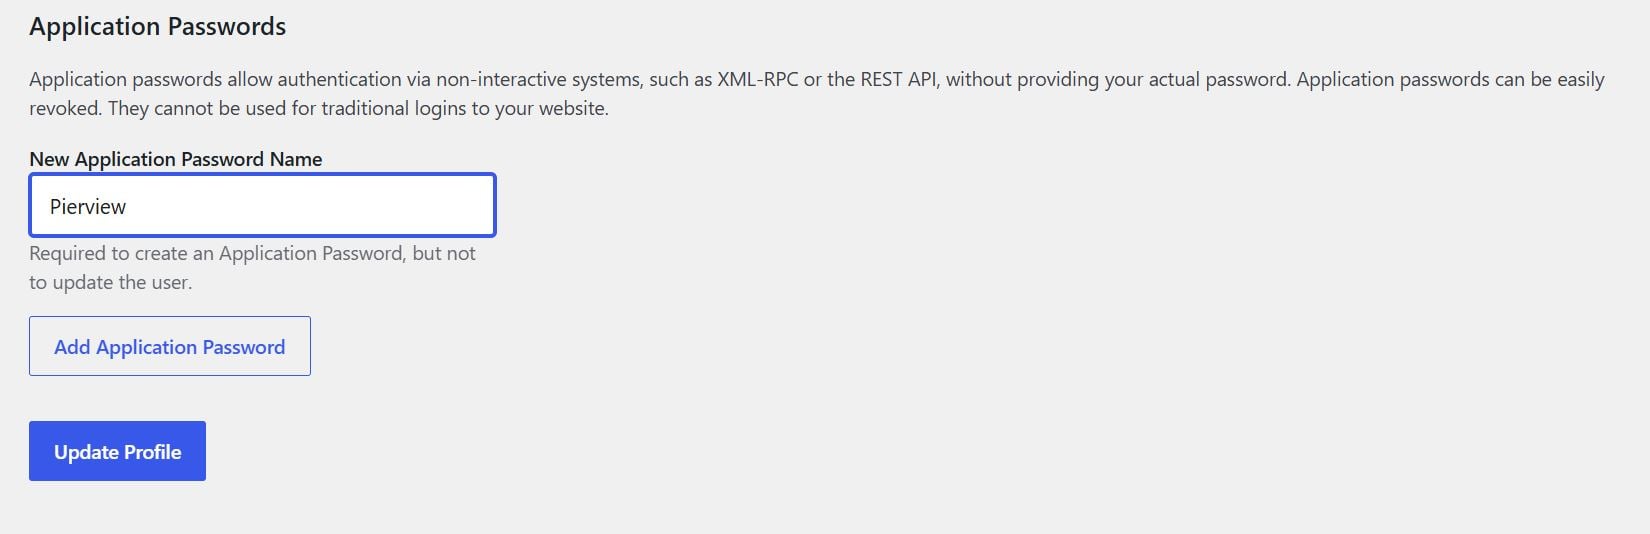
- Enter a name (e.g.
Pierview) in the New Application Password Name field and click Add Application Password.
- WordPress shows the generated password once, so copy it now. The spaces in it are fine.
Step 2: Connect Pierview to WordPress
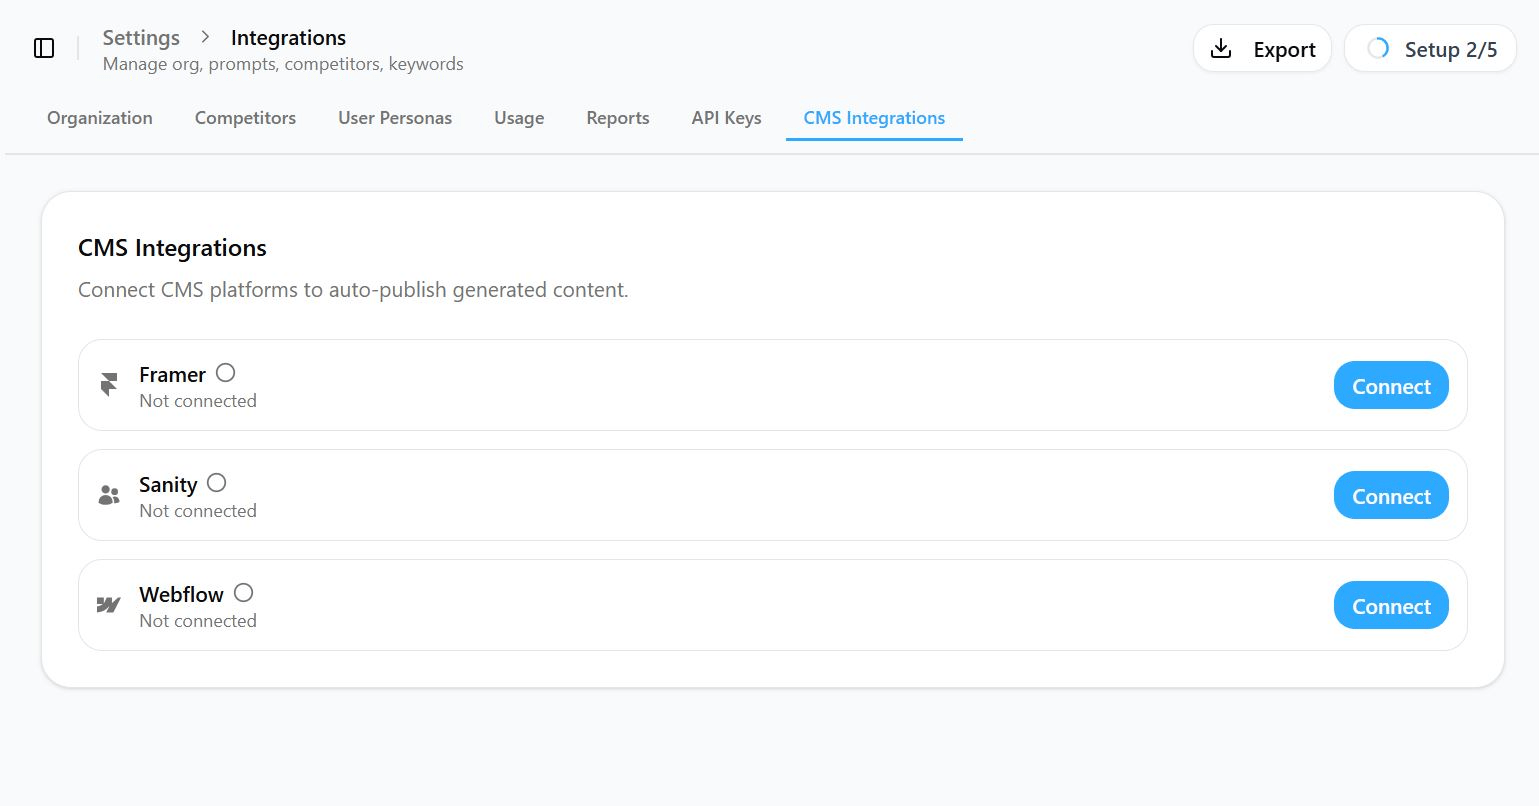
- In Pierview, go to Settings → Integrations → CMS Integrations and click Connect next to WordPress.
- Fill in:
- Site URL: your site’s address, e.g.
https://yourblog.com(must be HTTPS). - Username: your WordPress login username. On a WordPress.com site, use the username tied to your WordPress.com account, which you can find at wordpress.com/me/account, not your display name or email.
- Application Password: the token from Step 1.
- Site URL: your site’s address, e.g.
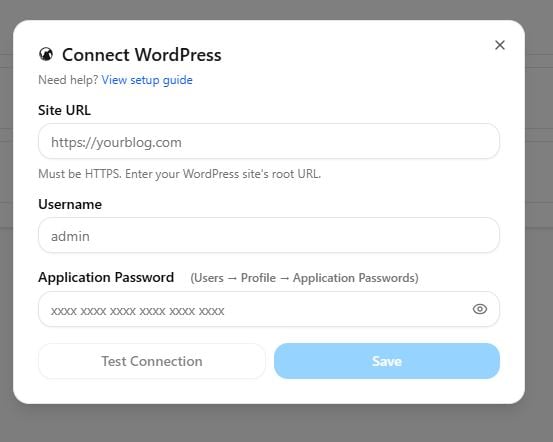
- Click Test connection. A success message with your display name confirms the credentials work.
- Click Save.
You’re Connected!
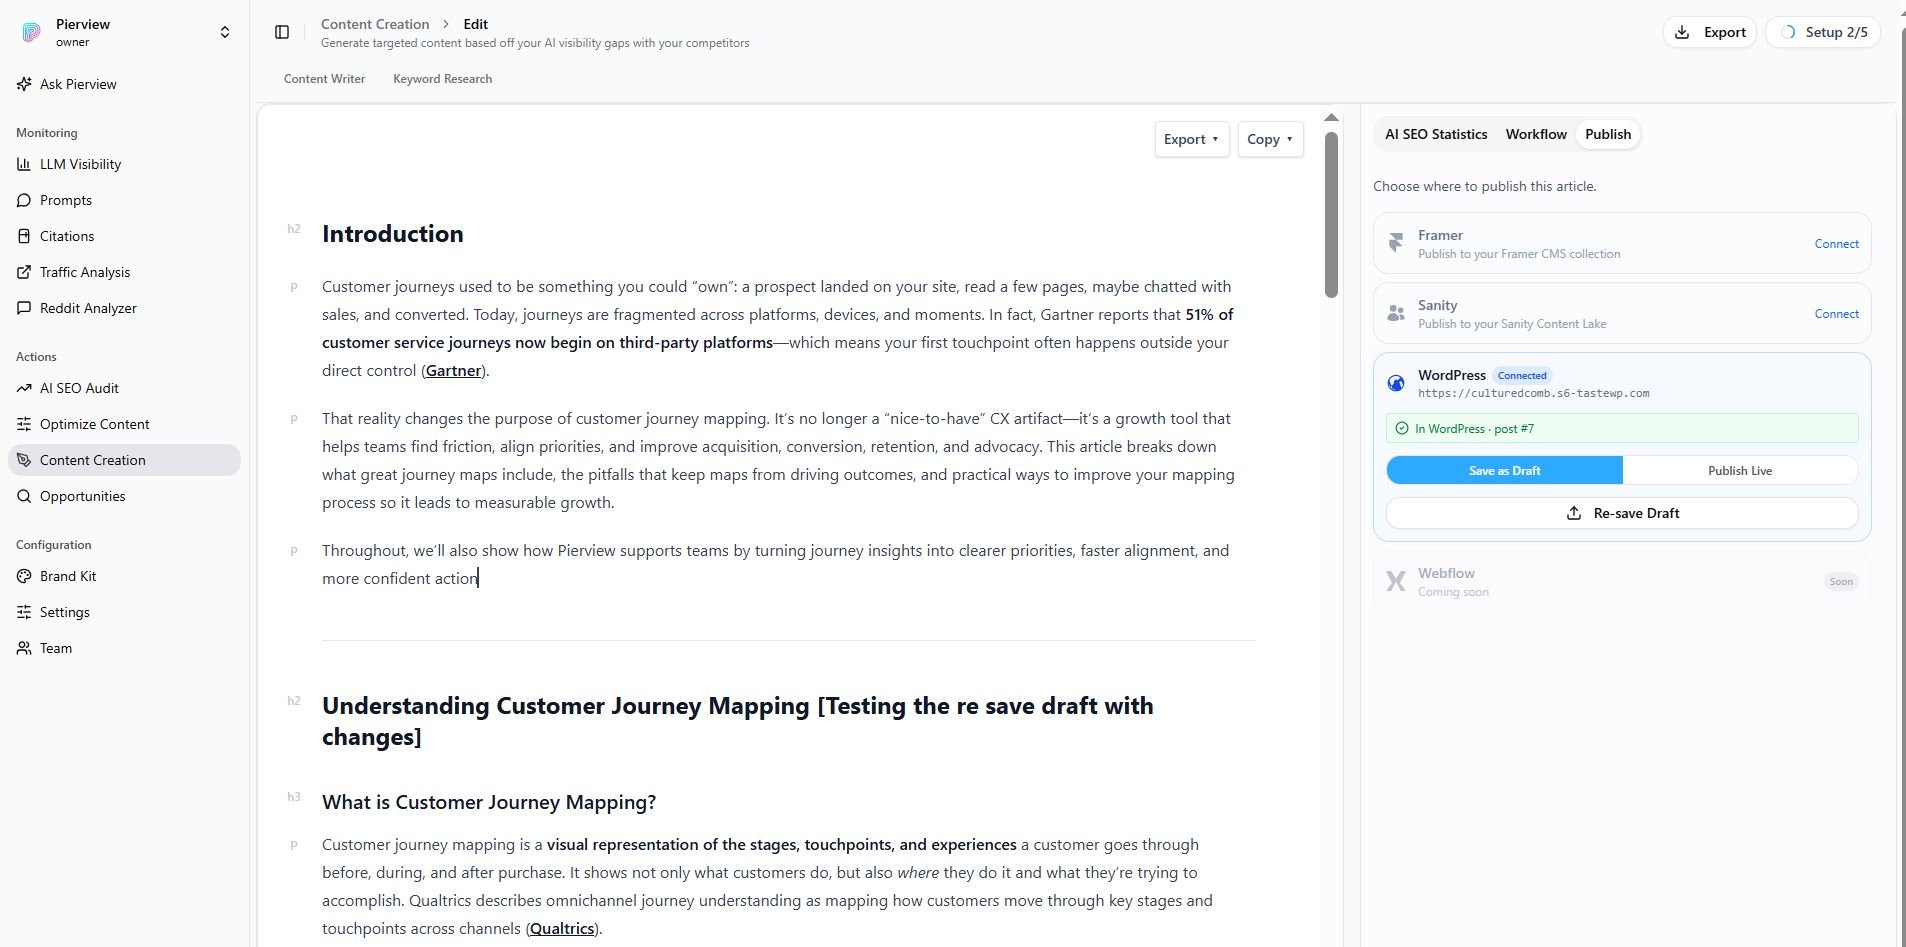
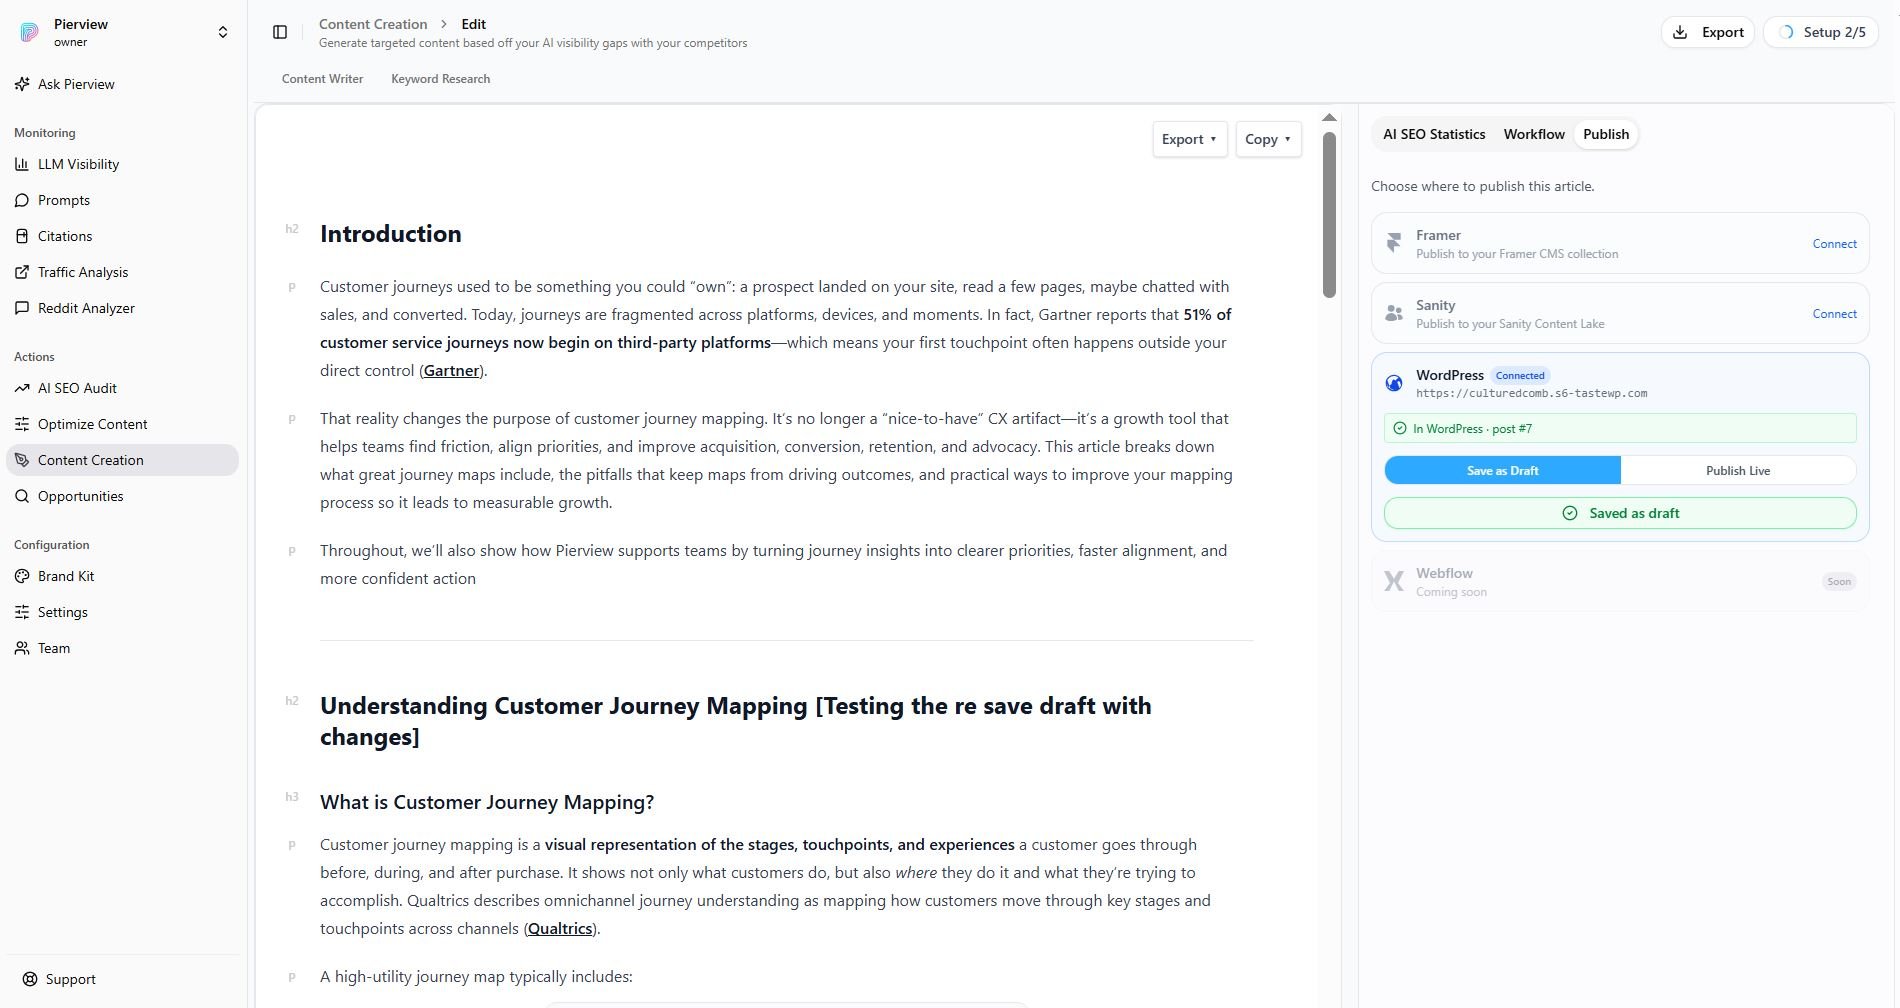
Open any generated article and click the Publish tab in the top-right sidebar. You’ll see your WordPress site with two options:- Save as Draft: stages the post in WordPress but keeps it hidden from visitors.
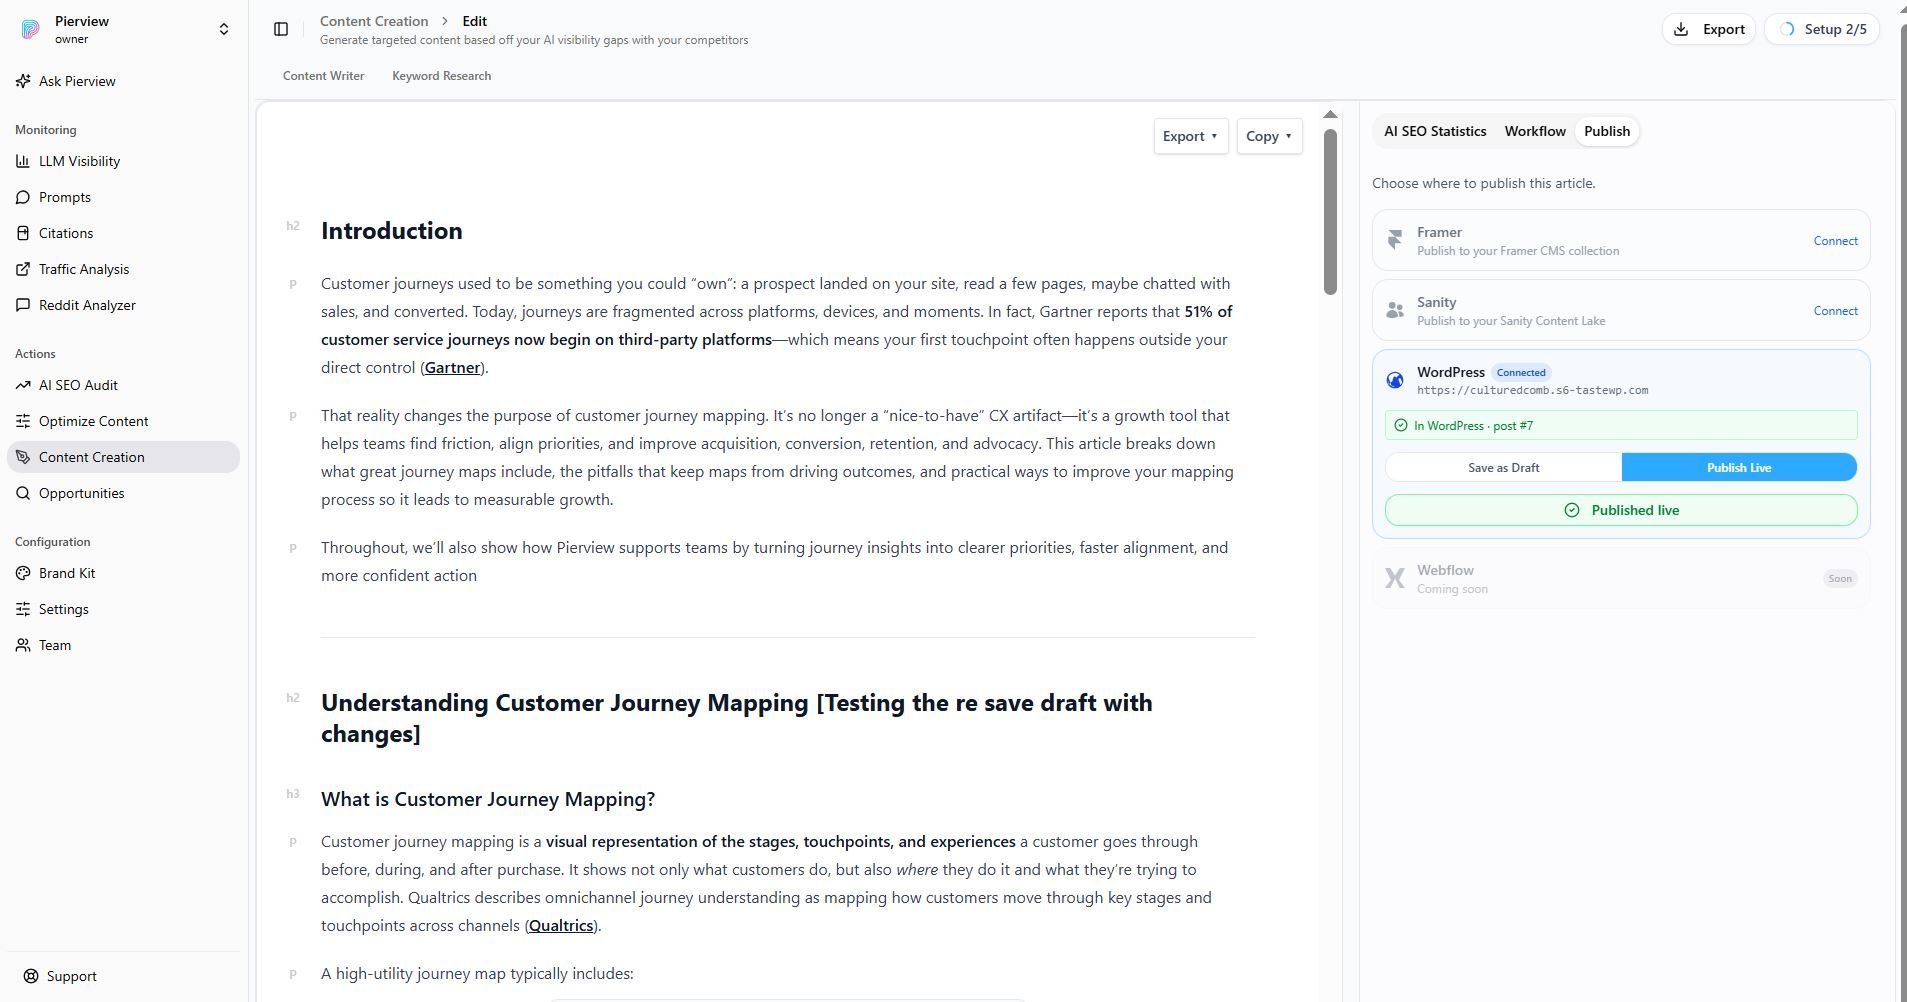
- Publish Live: publishes the post immediately.
Troubleshooting
Couldn't authenticate / 401 error
Couldn't authenticate / 401 error
A few things to check:
- Confirm the username and application password are correct (use the application password, not your login password).
- Make sure the site is served over HTTPS.
- Some hosts (Apache with CGI/FastCGI) strip the
Authorizationheader before WordPress sees it. If you’re on shared hosting and credentials are definitely correct, ask your host to allow the Authorization header, or add this line to your.htaccess:
Permission denied / 403 error
Permission denied / 403 error
Your WordPress user needs permission to publish. Use an Author, Editor, or Administrator account. Subscribers and Contributors can’t publish posts.
REST API not found / 404 error
REST API not found / 404 error
Pierview publishes through WordPress’s built-in REST API (
/wp-json). If it’s reported as missing:- Double-check the Site URL (it should be your site’s root, e.g.
https://yourblog.com). - A security plugin (e.g. Wordfence, Solid Security) or firewall may be disabling the REST API or Application Passwords. Re-enable them, or allow the
/wp-json/wp/v2/routes.
My site is on WordPress.com, why won't it connect?
My site is on WordPress.com, why won't it connect?
WordPress.com also supports Application Passwords, so the integration works there too. The most common cause of a failed connection is the wrong username: WordPress.com uses the username tied to your account, which is often different from your display name or email. Find it at wordpress.com/me/account and use that exact value in the Username field.
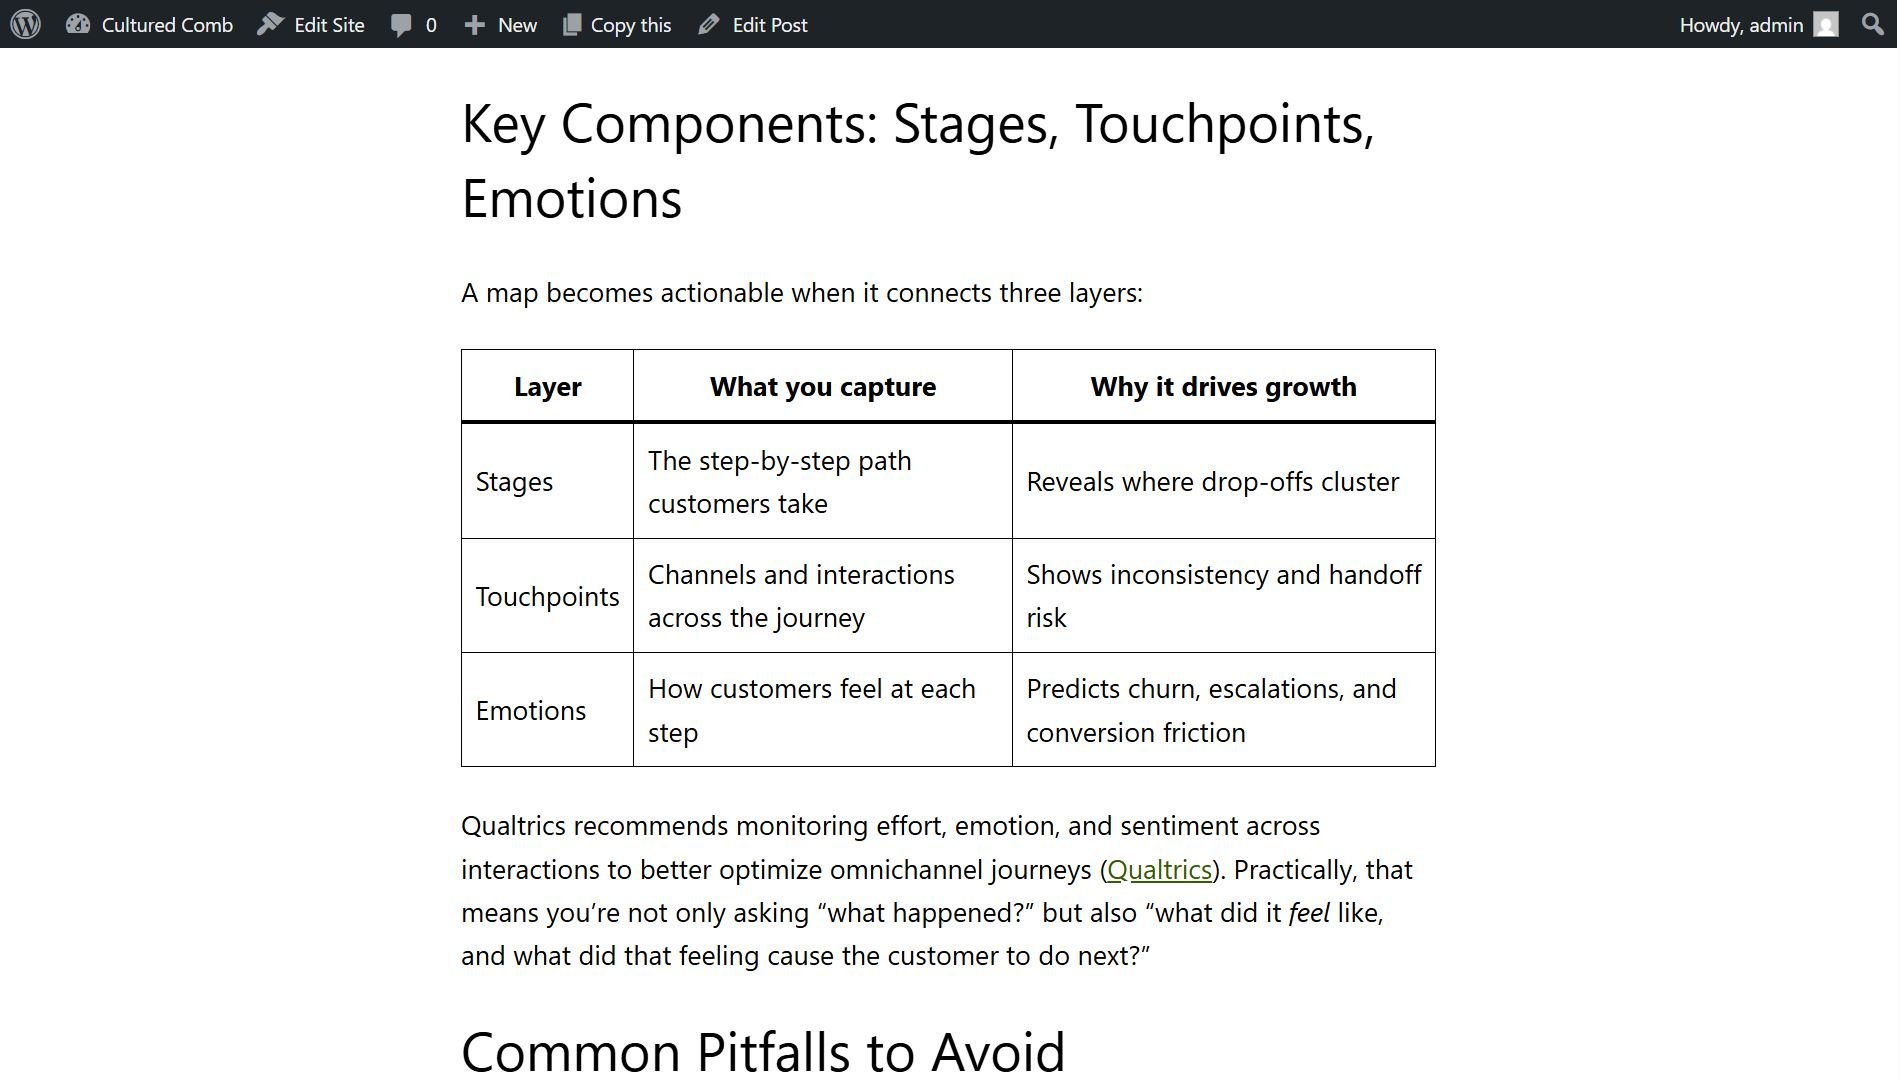
My tables look plain / I want to change their colours
My tables look plain / I want to change their colours
Published tables automatically inherit your theme’s styling, so they match the rest of your site. If your theme styles tables minimally and you’d like to customise them, add CSS via Editor → Styles → ⋮ (three-dot menu) → Additional CSS, not in the post itself, since WordPress strips inline 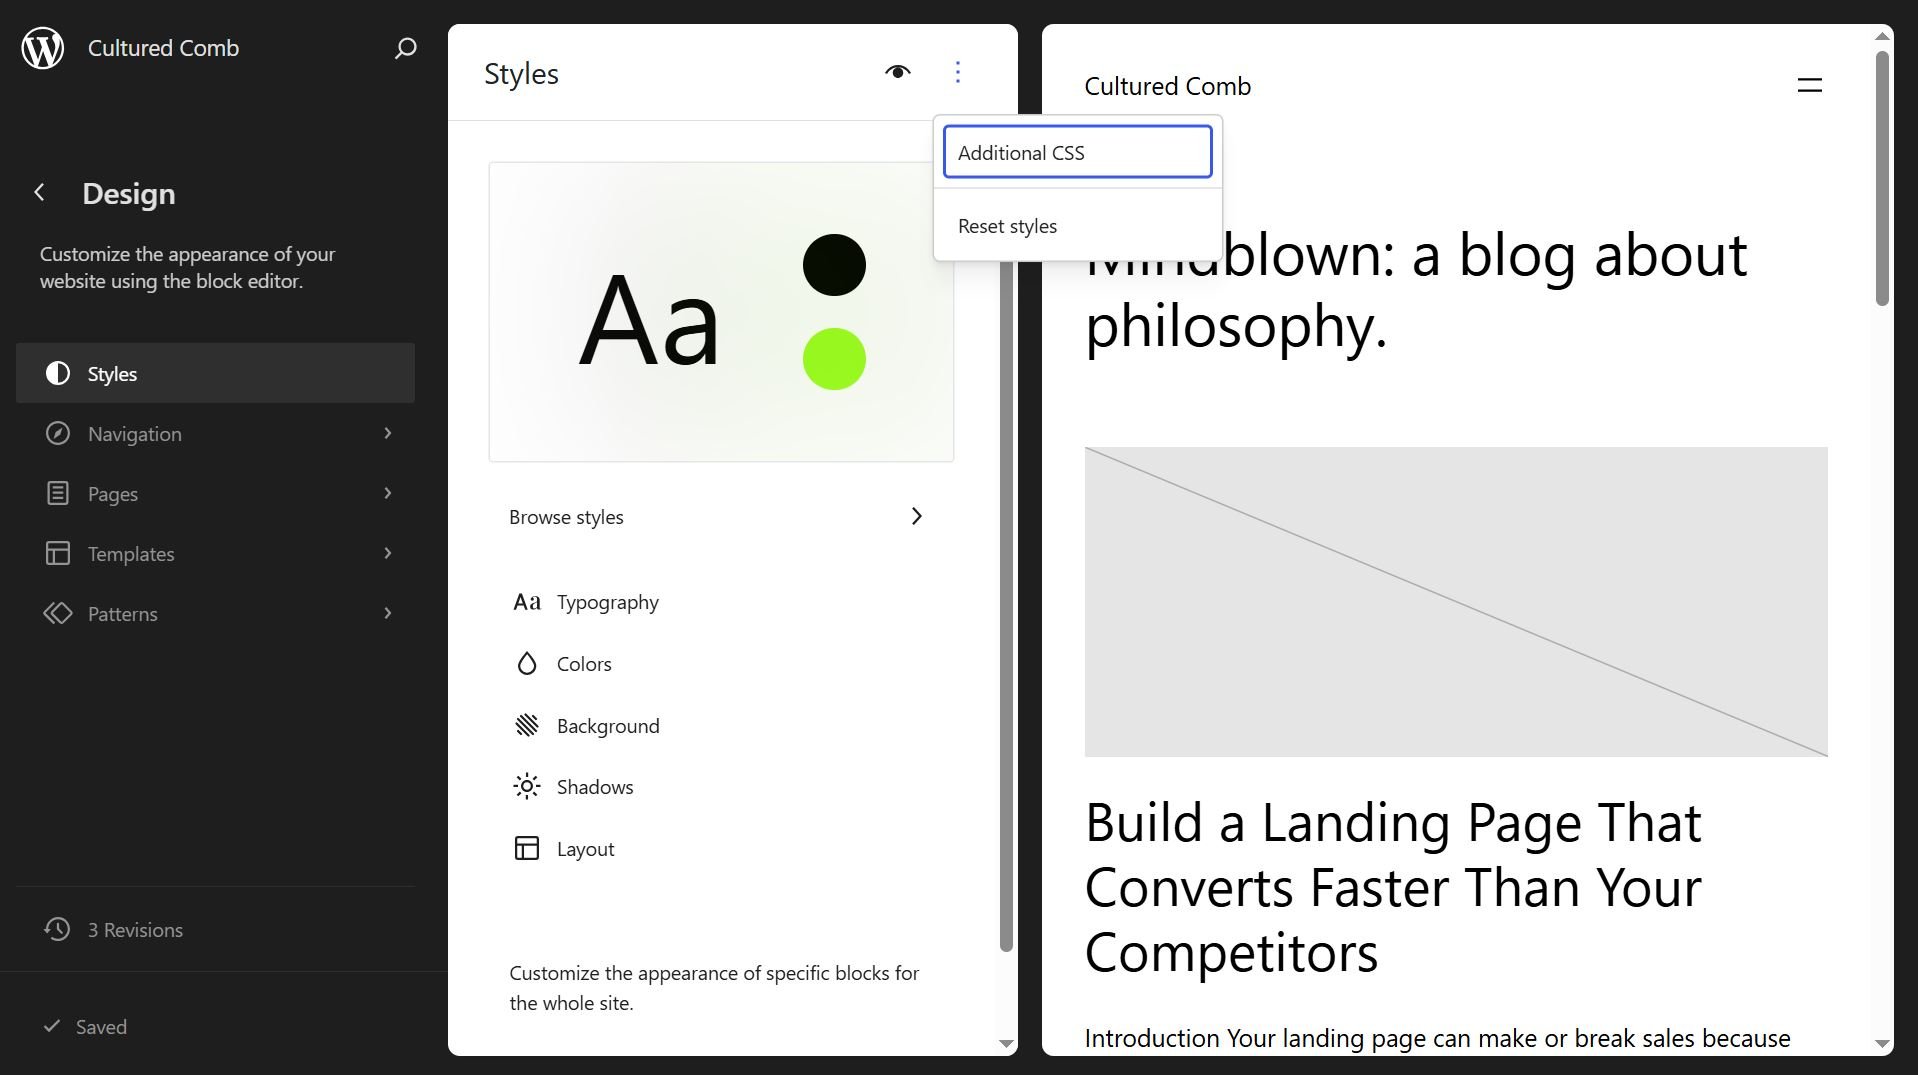
<style> from post content.Articles not appearing
Articles not appearing
- Verify the connection is enabled (toggle is on in Pierview’s CMS settings).
- Confirm the Site URL, username, and application password are correct.
- Check the post isn’t sitting as a draft under Posts → All Posts when you expected it live.